Repointing brickwork is usually required at least once or twice per century. Wear, weather and structural stresses cause the mortar between bricks to deteriorate over the decades, until you’re left with unsightly pointing and possibly an unsafe building. If your property was built in the 1980s or earlier, it might be time to tackle this essential project.
Some ambitious home renovators do their own brickwork repointing, while other homeowners (often wisely) turn to a bricklayer. Either way, it’s worth knowing about the many things that can go wrong with repointing, potentially compromising your brickwork.
To shed some light on these common mishaps, we spoke to Marcus Clark, a traditional bricklayer and director of Heritage Brickwork Restoration in Kent.
Marcus Clark
Third-generation bricklayer, Marcus Clark, is director of Heritage Brickwork Restoration, a company of renovation and conservation craftsmen based in Kent. Clark oversees his firm’s repointing services and is an authority on mortar formulation for historic properties.
Incorrect mortar mix
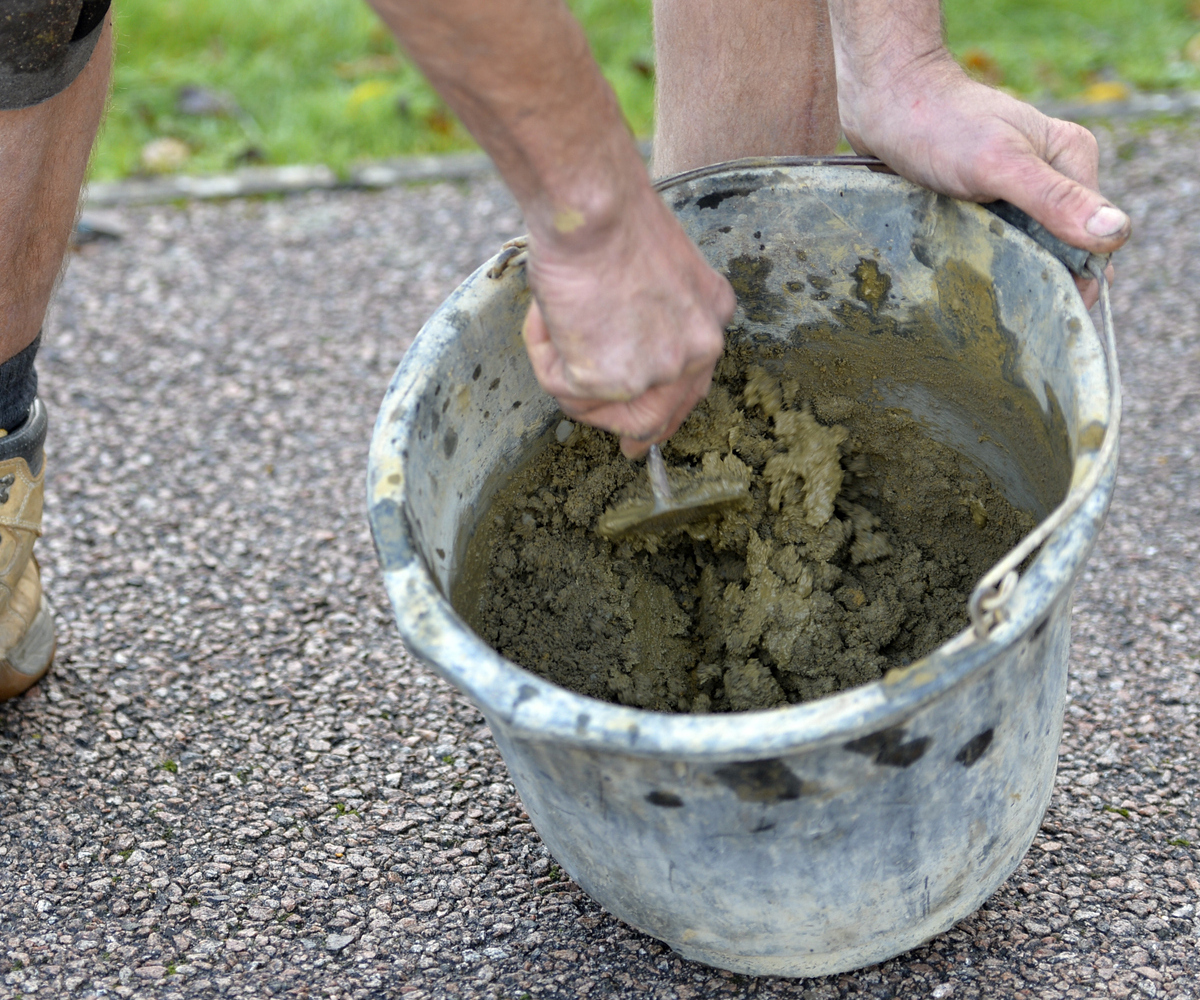
Mortar is made up of sand, water, and a binding agent such as cement (commonly used in new builds) or lime (a more traditional and artisanal choice). Each repointing project will benefit from a well-chosen mortar, with just the right properties, texture and hue. It’s easy to get the mix wrong.
“A lot goes into knowing what will be the right mix for your purpose and getting the right formulation,” says Clark.
“One of the most common mistakes people make is using the wrong sand. For example, if you used a clean sand on its own – like a silver sand or a sharp sand – you can end up with a lot of water coming to the surface and all of your sand sinking to the bottom, as there’s no loam left on the sand to help it adhere.”
“This is where lime comes in: it absorbs and holds water throughout the mortar,” he adds.
“You can never just chuck a bit of this and that into a bucket and hope for the best.”(Image credit: Getty Images / Joanne Hedger)
Another mixing mistake is adding too much water, which is especially problematic when you’re working with lime mortar.
“You need to use it as dry as you can possibly manage – a lean mix,” says Clark.
“There should be enough water to allow it to clump together when you squeeze it, but not so much that you end up with it all over your hand.”
Watery mortar can dramatically affect the finished look of brickwork, leaving the sort of messy marks you’ve probably noticed on walls in your neighbourhood.
“When you put really wet mortar into a joint you can end up getting a lot of it on the face of the brick, and that becomes much harder to get off without spoiling your finish,” says Clark.
Property expert and former Cowboy Trap presenter on Fix Radio, Clive Holland, has seen repointing at its best and at its worst. He emphasises the importance of mixing the mortar to the right strength:
“If the mortar is too strong, it can actually be harder than the bricks themselves, leading to cracking or spalling over time, whereas if it’s too weak, it’ll crumble and fail to bond properly.
“Always take the time to understand what mix suits the age and type of brick you’re working with – especially on older or listed buildings, where a lime-based mix might be essential. You can never just chuck a bit of this and that into a bucket and hope for the best.”
Clive Holland
Clive Holland is the former host of Cowboy Trap on the BBC. Now a broadcaster on Fix Radio, the UK’s only national radio station for builders and tradespeople, Holland is one of the UK’s leading property and DIY experts.
Poor preparation
The foundation of successful repointing is in the preparation. According to Clark, a common mistake at this stage is removing too little of the old mortar.
“You’re supposed to rake out two-and-a-half times the depth of the joint,” he says, referring to the size of the filled gap between bricks.
“The average joint is 10mm deep, so you should be raking out at least 25mm to ensure there’s enough material to create a complete, new mortar joint on the front, which should be applied square with the remaining mortar.
“If the new layer is too thin, it’s just going to come off with the first frost.”
Shown here removing fresh mortar, a mortar rake tool can be used to rake out old mortar that’s soft and loose. A tougher tool such as a chisel or angle grinder might be needed for harder mortar. (Image credit: Getty Images / AtWaG)
Raking out old mortar creates dust and debris, which must be cleared out before the new mortar is applied.
“Make sure you’ve got clean, dust-free joints, because leaving behind loose material can prevent the new mortar from bonding properly,” says Holland.
“A good wire brush and a bit of elbow grease go a long way.”
Clark stresses the importance of wetting the bricks before applying fresh mortar.
“One of the biggest mistakes people make is they put mortar with a high water content into dry brickwork, and the bricks instantly suck out all of the moisture and turn the mortar to dust,” he says.
“Before you repoint, you should wet the section that you’re going to point, let that absorb, and then repeat these steps twice more. After that, as long as there’s no loose surface water, it’s time to start pointing.”
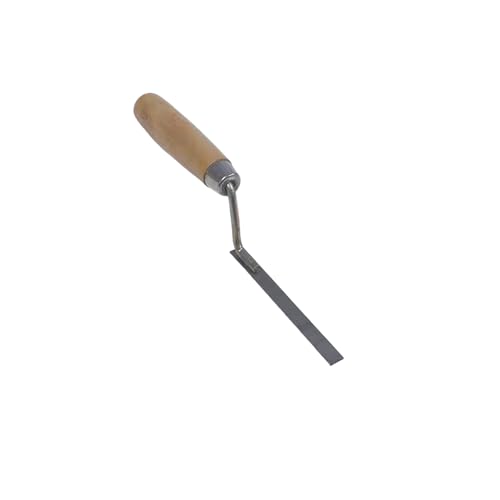
Incorrect tooling
Various tools are used in repointing, including wire brushes for cleaning joints, trowels for applying fresh mortar and hawks for holding it ready. Choosing the perfect tooling for a specific project is important to the pointing’s appearance and soundness.
“Trying to bodge your way through without the right kit slows you down and makes it much harder to get a clean and professional finish,” says Holland.
“A pointing trowel that fits the joint size, a hawk for easy access to mortar, and a jointer for that neat finish will make a world of difference. The right tools save time, reduce mess, and give a better result every time.”
If you have a lot of repointing work ahead of you, it’s worth investing in tools that will last. Clark draws from an inventory of well-used, handmade tools for his heritage repointing projects.
“You can buy a lot of bricklaying tools in most of the big builders’ merchants these days, but they need a lot of wearing in before they feel really comfortable,” he says.
“Bear in mind that many tools come in different sizes. For instance, tuck jointing pointing fingers range from around 2mm all the way up to 15mm, to use with different sizes of joint. Picking the right size of tool is essential.”
Ox P031003 Brick Joint Raker
If your existing pointing is soft or crumbling, a simple joint raker might be able to clear the joints to the appropriate depth.
Tuck pointers are among several repointing tools that must be the right size for your project. This one is for 1cm joints.
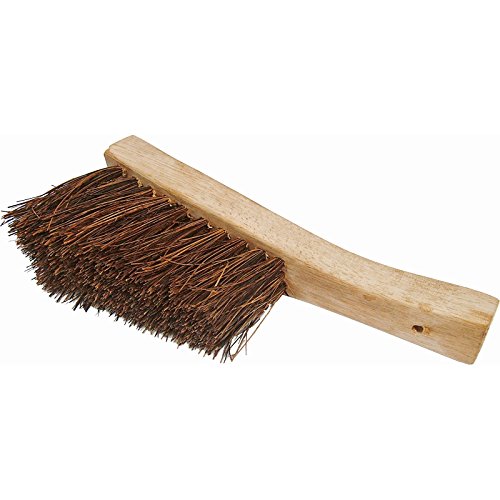
Faithfull Churn Brush 250mm (10in)
Churn brushes are used to beat mortar further into the brickwork, creating a finer finish and a stronger joint.
Improper application
Correctly applying the fresh mortar is, of course, a crucial phase of repointing. Getting this wrong can result in unsightly joints, water ingress and structural issues.
“You need to press the mortar firmly into the joint to make sure it bonds all the way through, rather than just sitting on the surface,” Holland advises.
“Fill the joints fully, pack them tight, and don’t leave air pockets. Then once it’s started to firm up a bit, strike or brush the joints to your chosen finish. It’s not just about making it look nice – finishing helps water run off properly and protects the joint long-term. A sloppy application won’t last five minutes in British weather.”
Repointing brickwork is a fine skill. If you’re a DIYer, consider taking a course and practising the process before you go near your home’s brickwork. (Image credit: Getty Images / ClarkandCompany)
Clark follows a highly specific, heritage application process using his traditional bricklaying tools.
“You put the mortar in with your metal tool and you leave it for an hour, 40 minutes or so, then you go back over with your wood to complete the first firming of your piece of work,” he says.
“Next, you go back over it with a churn brush, beating the wall at almost a 90-degree angle to polish up the little bits of aggregate in the mortar and tighten the mortar in the joint.
“It’s all part of the process of getting a good, strong finish before curing.”
Rushing the process
You might be in a hurry to finish repointing your home – especially if your brickwork is in disrepair or you’re keen to complete a renovation. Mortar does start to set quickly, but it requires anywhere from a few weeks to several months of curing to strengthen adequately.
“A pure lime mortar mixture can take up to 120 days to cure fully. If you don’t have full frost resistance on the mortar or if there’s moisture in the brickwork when we get down to sub-zero temperatures, then the water freezes solid and causes a lot of damage to the mortar,” says Clark.
“You do get a much faster, harder set out of the sand and cement mortar, but that’s only good for new build work.”
So, it’s crucial to plan your repointing project so that curing coincides with suitable weather (or use protective measures such as covering the repointed areas where adequate).
“Give yourself time to do each section properly, and avoid doing it in the baking sun or driving rain,” says Holland.
“Let the mortar cure slowly and evenly – don’t try to force it. Good pointing can last decades if done right, but a rushed job will have you or someone else back on the scaffold in no time.”
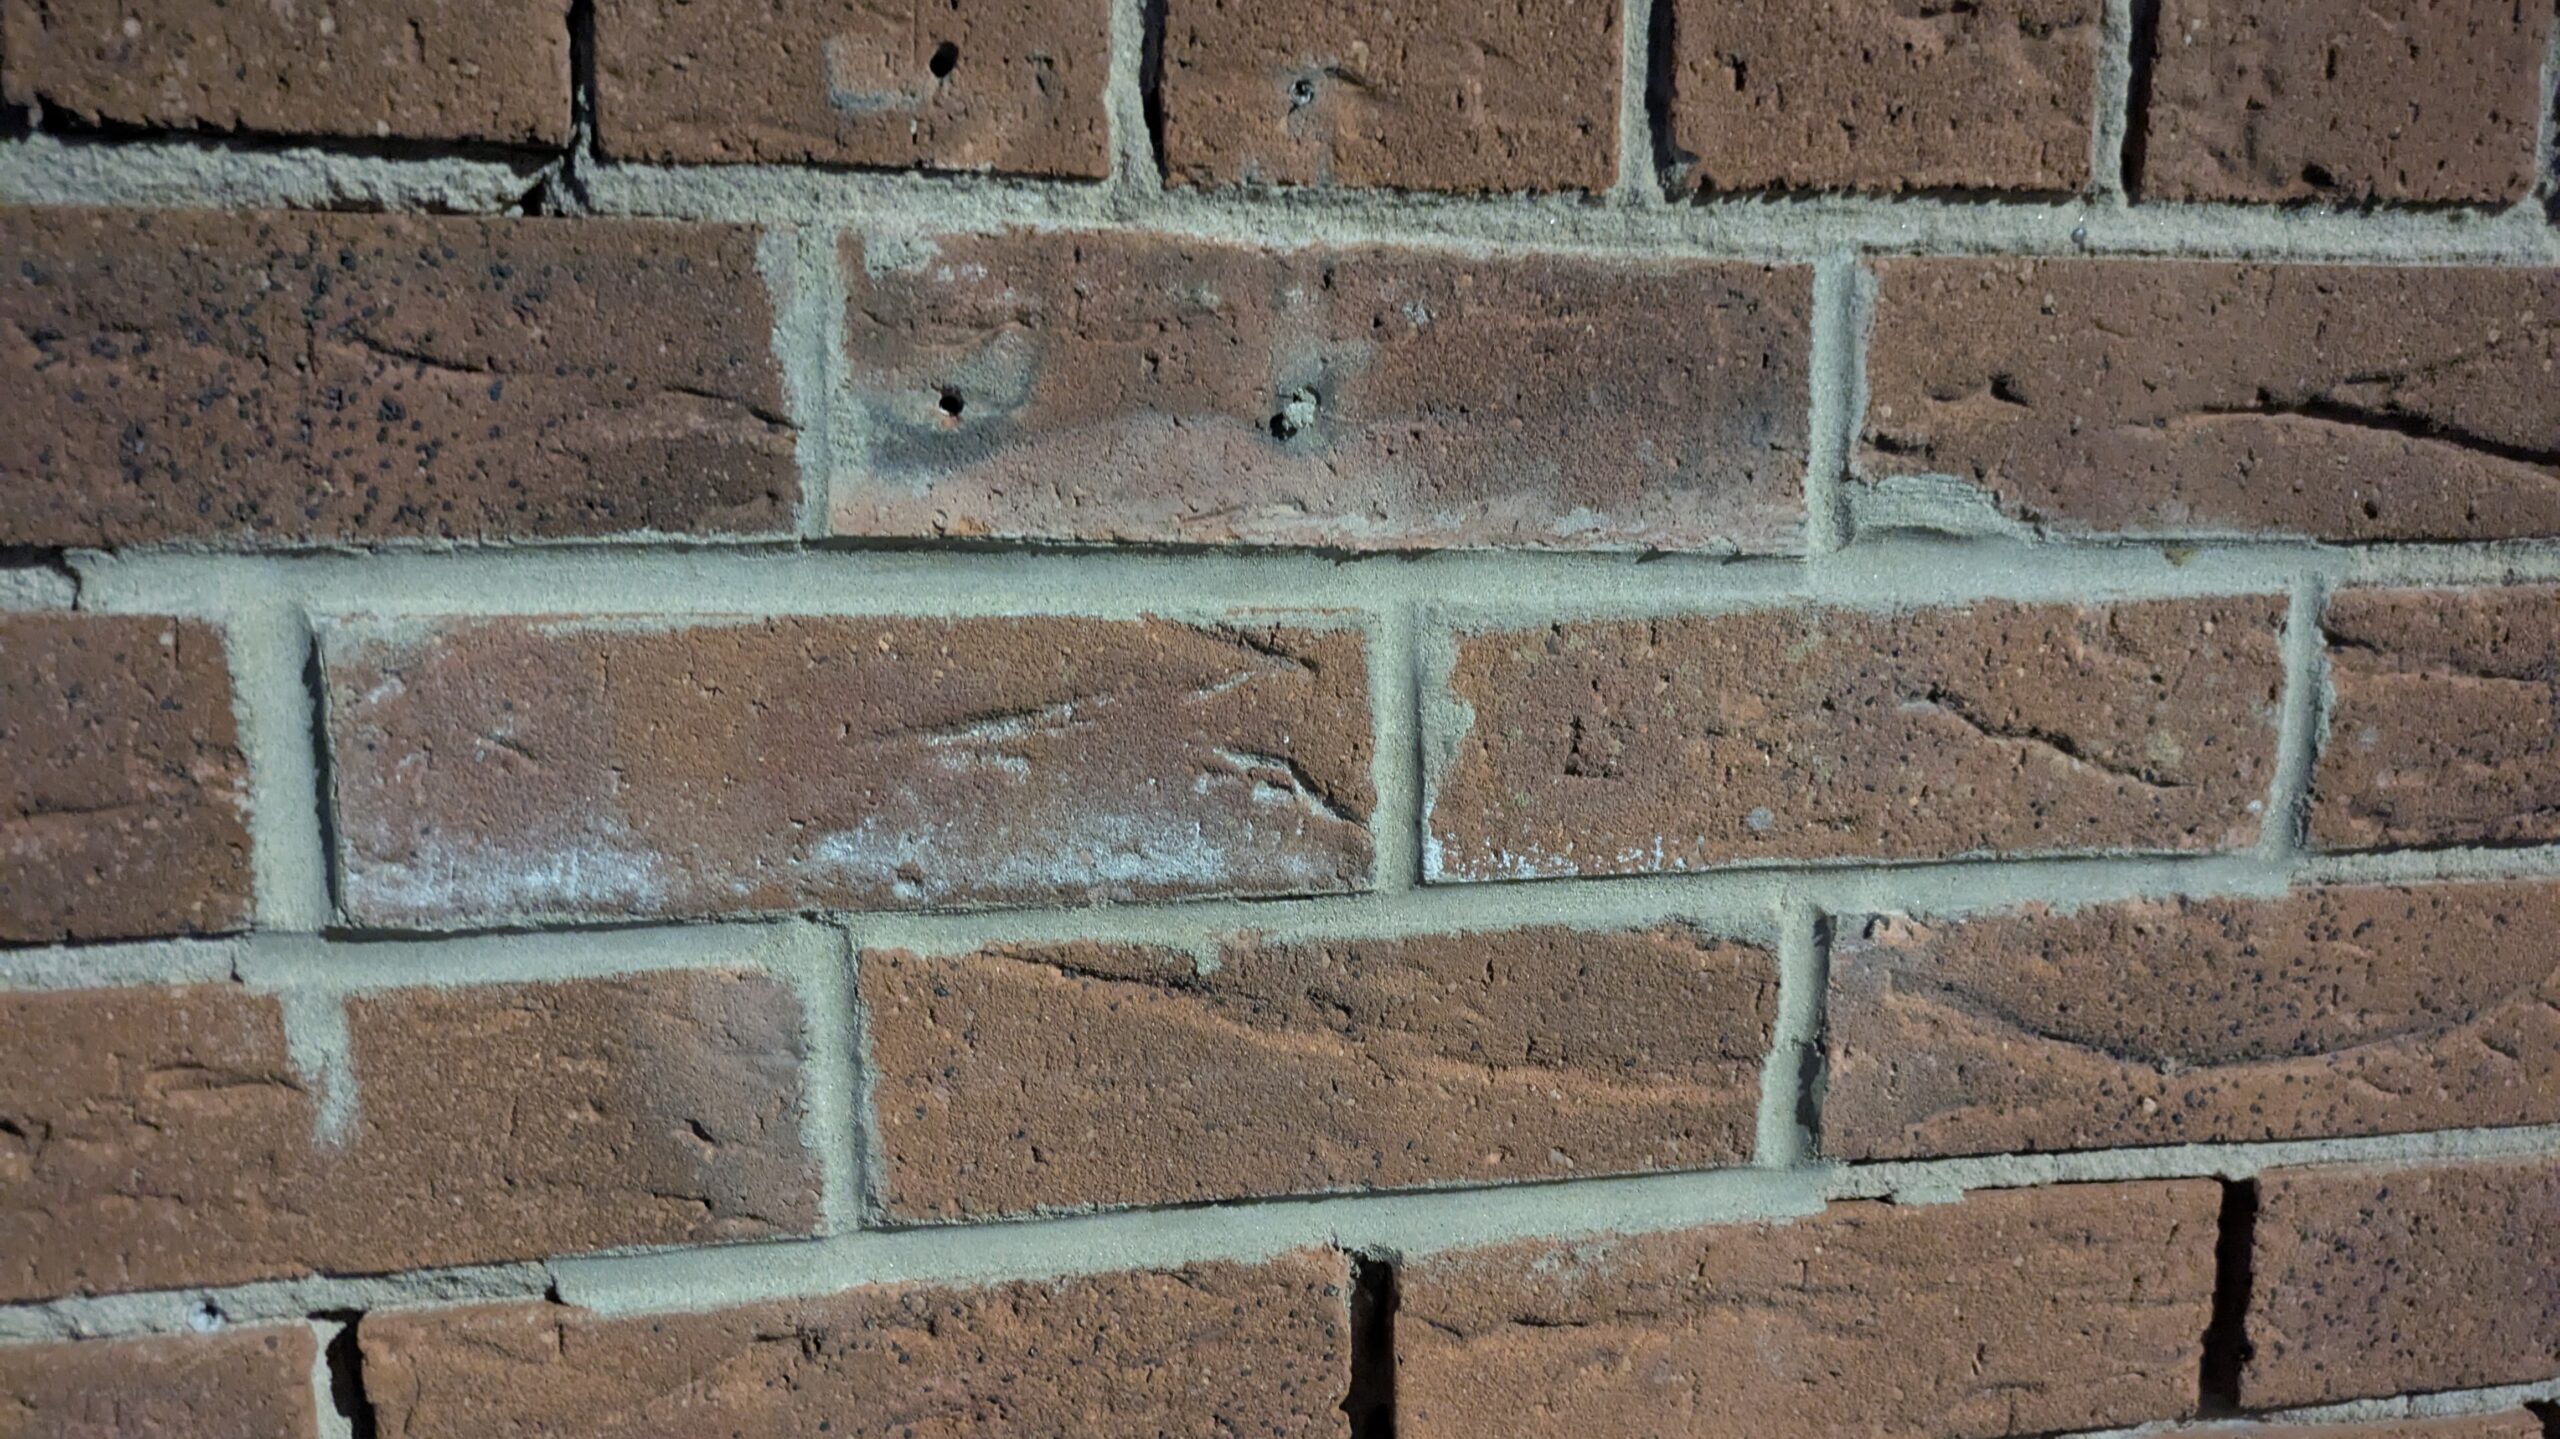
Marcus Clark advises that examples of a historic building’s original pointing are most likely to be found in sheltered places, such as under the eaves and window ledges.(Image credit: Getty Images / Olga Dobrovolska)
Not matching the original mortar
Identifying the right mortar and pointing style to use in a period property can be challenging – especially if it has been repointed unsympathetically by a previous owner.
“You can sometimes find examples of a building’s original mortar under the eaves and window frames, where the brickwork has had more protection from weather and therefore hasn’t been repointed in the past,” Clark advises. He urges restraint when selecting a new mortar:
“When you look at the facade of a building, as much as 25% of what the eye sees in the brickwork will be the pointing, depending on how the bricks are bonded.
“Less is more, because if you apply too heavily or you choose a colour that’s too vivid, the pointing will stand out and look wrong.”
If you’re happy with the colour of your existing mortar, Holland suggests taking a sample and mixing the new mortar to match it.
“You might need to blend different sands to get the right finish – and don’t forget that mortar looks different wet than it does dry,” he says.
“Take your time and get the match right. It’s what separates a proper job from a patch-up.”
If you’re up for the challenge of repointing and renovating your home’s brickwork, keep sharpening up with our guides to brick types and brick tinting. Of course, you might prefer to choose a bricklayer to work on the project – whether that’s a traditional firm like Marcus Clark’s Heritage Brickwork Restoration, or a new build specialist.
View the original article and our Inspiration here


Leave a Reply