
It’s well worth exploring ways to make sanding dust-free – or at least to reduce the dust released as much as possible. If you’re successfully containing the dust from sanding, less will be released into the environment.
Dust released by sanding can irritate the eyes, nose and throat. Significant quantities are linked to more serious health conditions, while the dust from sanding old finishes like lead-based paint can introduce toxins to your air and household surfaces.
On a lighter note, dust management also benefits your DIY schedule and results. Less dust means you can have a cleaner home or workspace sooner with less clean up involved. And removing dust between sanding, sealing or painting sessions will give you a smoother, cleaner finish, free from embedded dust particles.
1. Use a sander that can capture dust at the source
A sander with an integrated dust collector can capture some of the dust from sanding before it is released into the space. These tools direct the particles into a dust collection bag, which can be emptied into the bin from time to time during sanding.
Better still are types of sanders which can be attached to a dust extractor vacuum. The tool and vacuum are connected via a dust extraction port on the sander, which is often the same place where a dust collection bag can be attached.
“Orbital sanders, detail sanders, and belt sanders often come with ports that connect directly to a vacuum, which captures most of the dust before it even enters the air,” says property expert and Fix Radio presenter, Clive Holland.
“I recommend pairing a sander that has built-in dust extraction with a dust vacuum wherever possible.”
While many types of sanding tools can come with dust collection bags or extraction ports, you should check the specs before you buy the tool, as this isn’t guaranteed.
Clive Holland is the former host of Cowboy Trap on the BBC. Now a broadcaster on Fix Radio, the UK’s only national radio station for builders and tradespeople, Holland is one of the UK’s leading property and DIY experts.
Try this dust extractor when sanding
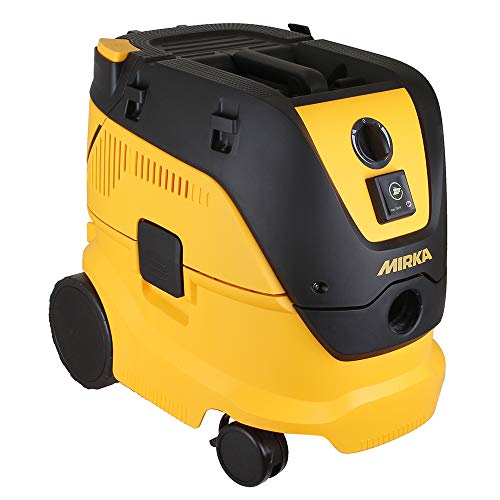
Mirka 8999100111 Dust Extractor
The Mirka Dust Extractor is equipped with a high-performance motor and turbine that creates plenty of suction. It comes with a fleece dust bag, and as the dust extractor only runs when the power tool is in use, there is less noise and the dust extractor gains a longer lifetime
2. Choose a good dust extraction vacuum
Rather than using an ordinary vacuum cleaner to suck up the dust from sanding, you should be using a purpose-built dust extraction vacuum. These specialised appliances have a high dust capacity and a powerful motor, which means a higher proportion of dust gets picked up.
Crucially, they tend to use dust collection bags which can be sealed and disposed of safely after sanding.
“Use a certified HEPA-filtered vacuum during and after sanding – not your standard household hoover, which will only blow around the finer particles,” says the CEO of Handy Rubbish, Brian Davis.
“You can then clean up the dust in airtight, biodegradable bags and discard them as per the local waste regulations,” he adds.
If you’re in the middle of extensive renovations or you’re a keen craftsperson, it might be worth buying one of these special vacuums. Otherwise, you can rent one from a provider such as B&Q.
As well as extracting dust from the connected tool during sanding, this vacuum should also be used after each stage of sanding with its floor head attached.

Handy Rubbish provides waste removal and property clearance services in the London area. CEO, Brian Davis and his team of cleanup experts often tackle messes left by sanding projects.
3. Check for a tight connection between your sander and dust extractor (or collector)
A dust extractor connects to a sander via a hose attachment. The rate of extraction is greatly affected by how securely this hose connects with the sander at one end, and with the vacuum at the other. So, check whether these connections are secure and tight, before you sand.
Make sure the hose is compatible with your chosen sander. Even if a sander has a port for its own dust collector, this might not be the right size to connect to popular dust extractor hose widths (e.g. 32mm). Check your sander’s specs (or instruction manual) and choose a dust extractor with a hose size to match.
If you’re relying on a dust collector (e.g. a bag or box fitted directly to the sander), check its fill level regularly to ensure there’s plenty of space for more dust.
4. Use perforated sanding sheets correctly (where relevant)
If you have a handheld sander such as an orbital sander or detail sander, you’ve probably noticed some holes in the tool’s sanding pad. These are designed to line up with corresponding holes in the attached sanding sheet, so that dust can be sucked up through the holes and into the sander’s dust collection bag or connected dust extractor. Make sure they’re properly aligned to maximise dust extraction.

5. Make sure your vacuum has the right filters
Clean filters are essential to a dust vacuum’s suction power and hygiene. Whether you’re using your own vacuum or hiring one, check that the filters are in good condition before you sand. If they’re already full of dust or other debris, you may need to replace them – and the new filters need to be a suitable type.
“If using extraction on a vacuum and working with hazardous dusts (such as silica, or worse) make sure you are using a vacuum with the proper filtration, which would be M class or H class,” says James Crame, PPE specialist at Start Safety.

James Crame is a PPE specialist at Start Safety, which provides a comprehensive range of safety equipment to tradespeople and DIYers in the UK.
6. Seal the workspace
Keeping sanding dust in the place where it’s created is key to preventing an unmanageable spread around the property.
“Containment is where you start: seal work zones with plastic sheeting and close off vents so that the dust doesn’t spread,” says Brian Davis.
Rather than relying on doors to block out dust, add a plastic dust door over the doorframe to create a tight seal, as dust can easily get under the crack or waft through when the actual door is opened or closed.
This pack of two Proguard Eazi-Zip Doors is available from Wickes for £18.
7. Carefully consider how you’ll clean up dust
You’ll hopefully clean up most of your sanding dust using an appropriate vacuum, but some might only be accessible via alternative methods.
“Avoid sweeping, as it stirs up particulates,” says Brian Davis. “Instead, try wet-wiping surfaces and mopping with materials such as microfibre cloths that trap dust rather than send it back into the air.”
Or, try the Kärcher WD 4 16282030 Wet and Dry Vacuum from Amazon which is rated in our guide to the best vacuum cleaners for builders dust, as one of the most efficient ways to tackle dust.
8. Check paintwork before you start for lead content
Some household surfaces should never be sanded – especially if you’re renovating a period property.
“If sanding paintwork, ensure you get it tested for lead first using a lead testing kit,” says James Crame. “They are not expensive and can help prevent health issues for children and yourself down the road.”
Lead-based paint can be removed using a stripping product, although many homeowners choose to get this unpleasant and hazardous job done by a professional.
Pick up a Lead Test Kit from B&Q which includes 10 swabs and is suitable for testing for lead paint.
9. Get specialist assistance
If you don’t have the time or ability to deal with the dust from your sanding project, you can get help – at a price – via a cleaning service provider.
“Clean up providers like ourselves offer post-renovation cleaning services that are designed specifically for dealing with sanding dust,” says Brian Davis.
“Find providers that use HEPA-rated vacuums, offer environmentally friendly disposal options and know the best containment habits,’ he recommends. “For bigger jobs, or where fine finishes are a consideration, hiring a professional crew is a good investment.”

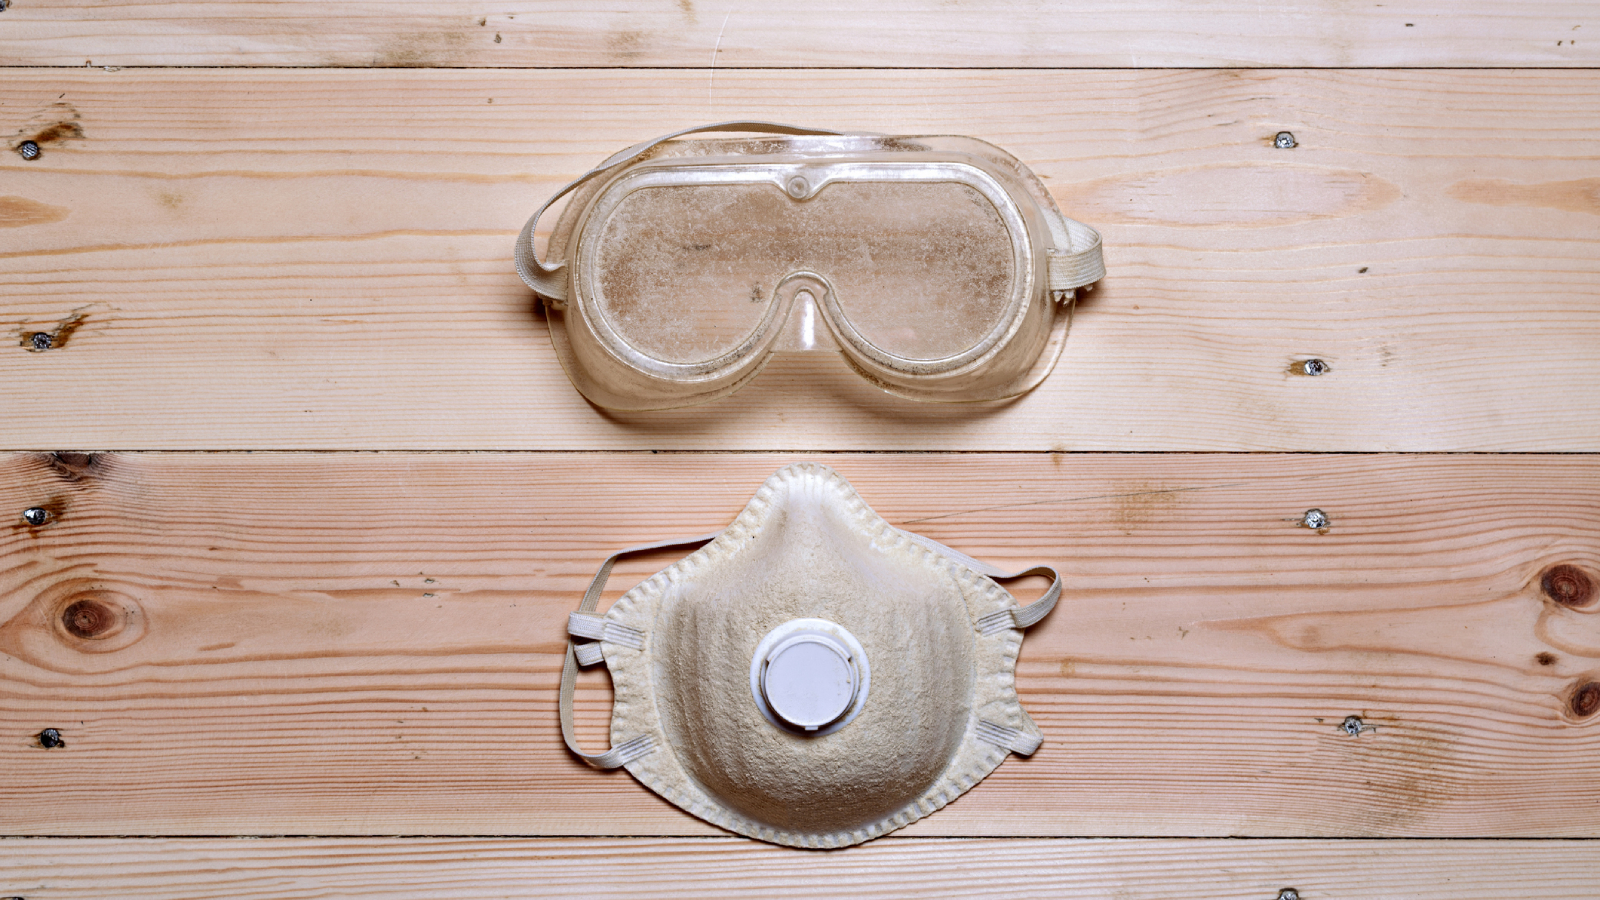
10. Protect yourself with the right safety gear
Sanding dust behaves differently to other renovation byproducts, and it requires some specialised PPE.
“The correct face masks and respiratory protection for plaster and fine particulate dusts should be FFP3 or P3 or equivalent – not KN95, which is not recognised in the UK,” says James Crame.
“If you can smell or taste the dust it means your mask is not sealing, and if you are finding your safety specs are fogging up, it means your mask is not sealing around your nose.
“Wear the straps as per the manufacturer’s guidelines, and note that masks which only hook on the ears are not sufficient to provide protection,” he adds.
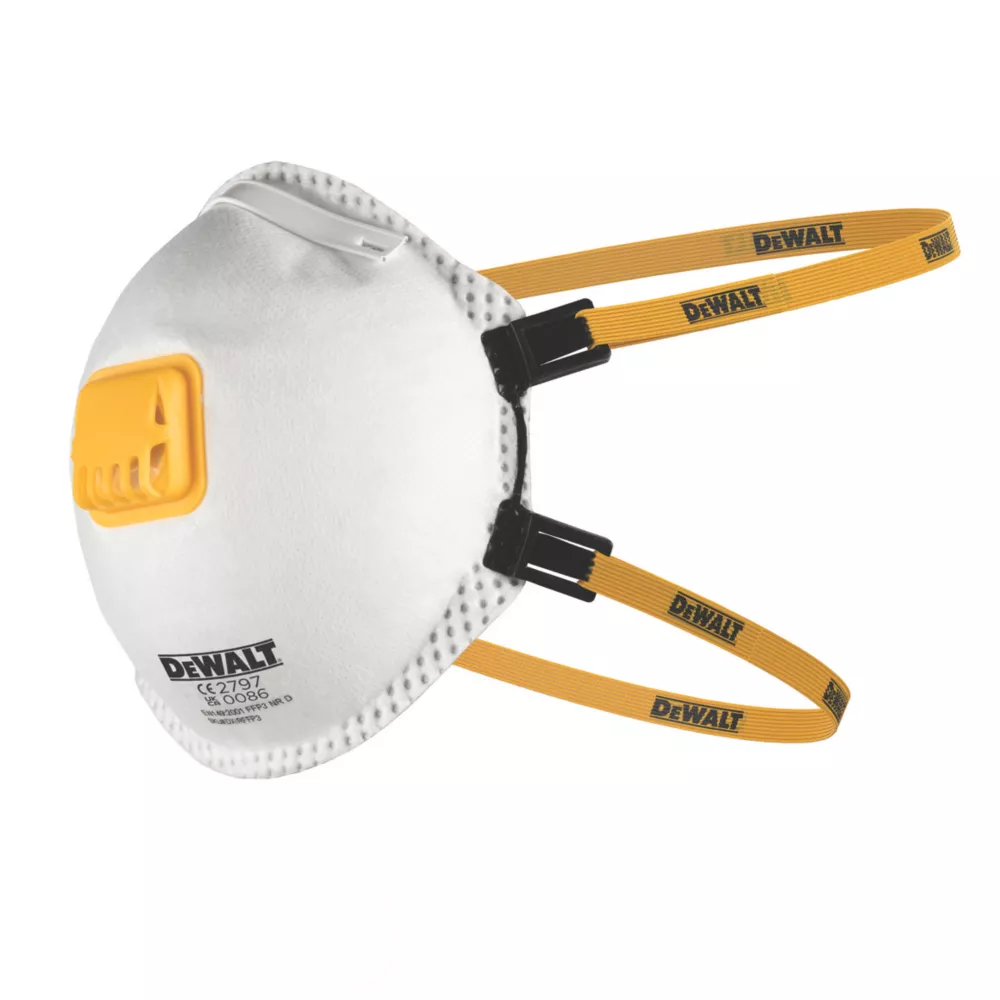
Dewalt Moulded FFPS Nr D Valved Disposable Masks P3 2 Pack
This pack of two FFP3 rated masks provides protection against toxic particles such as asbestos, silica dust, bacteria, viruses and radioactive particles. Their lightweight design and soft foam face seal provides a secure and comfortable fit.
FAQs
What are the risks of not making sanding less dusty?
- It can ruin tools and abrasives. Most sanding tools should have some resilience to dust ingress, but when too much of it gets stuck inside components such as cooling vents (which are important to a power tool’s motor performance), the tool may overheat or break. Meanwhile, abrasives such as sanding belts or sandpaper sheets can get clogged up with dust, which soon makes them useless for sanding.
- It can lead to imperfections in a new or refinished wood floor. Lingering dust from one pass with the sander can cause blemishes in the next.
- Similar problems can arise in cabinetry or furniture-finishing projects. Dust contamination gets in the way of the fine finishing required for these jobs.
- When lead paintwork is sanded, it can cause a toxic safety risk. There’s no perfect way to deal with lead paint, but releasing this finish into the air as dust would be disastrous.
- Drywall and plasterwork projects can lead to huge cleanups if dust isn’t dealt with during the work. The right measures can greatly reduce the mess.
Managing the dust from sanding undeniably requires some investment and effort. The combined expense of a dust extractor vacuum plus PPE and plastic sheeting could make up around half the costs of sanding a wood floor, for example.
Nevertheless, Clive Holland believes that investing in dust extraction gear is always worth the outlay, for occasional DIYers as well as for professionals.
“Many people think they can get away with a basic sander and a brush, but the health risks from fine dust are real, and the cleanup is exhausting,” he says. “Dust extraction gear – whether that’s a portable vacuum or a sander with an attachable dust bag – saves time, protects your lungs, and reduces the dust released into your home.”
To make sure you’re using the right sanders for the job, read our guides to orbital sanders and hand sanders for some highly rated recommendations.
View the original article and our Inspiration here
Leave a Reply