If you want to say goodbye to old leaking taps or upgrade your sink with a new look, fitting a kitchen tap is the practical solution. It might be one of your kitchen remodel ideas or a simple replacement to keep things working as they should. And it’s a skill that isn’t too difficult to master.
But you will definitely need the right tools to help make sure that you can remove the old tap and replace with the new. No-one wants to be stuck under a sink with a difficult to reach tap nut with the wrong tool we can promise you. Here we reveal what you’ll need and how to fit your new tap.
The tools you’ll need for fitting a kitchen tap
Here Matthew Powell, owner of WarmZilla lists the essential tools you’ll need – and why – to fit a new tap.
Try these kitchen taps to replace your old ones
Phoran Black Titanium effect Kitchen tap
A single lever water saving tap with 360 degree swivel, anti-limescale spout and 10 year guarantee. Comes with pre-fitted hoses for quicker installation.
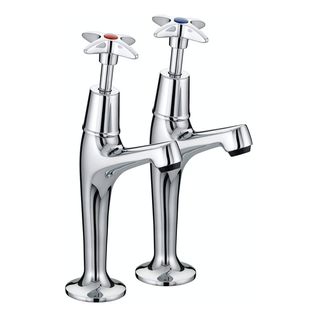
Bristan Vax High Neck Kitchen Pillar Taps
These high neck pillar taps are 95mm high and come with a high shine chrome plated finish. Suitable for both low and high pressure systems.
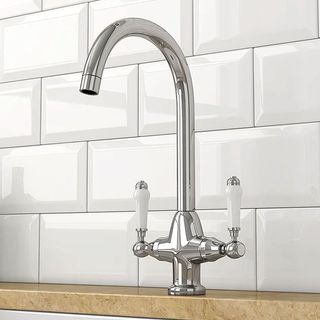
Bower Dual-Lever Traditional Kitchen Tap
This tap will add a distinctive vintage style to your home thanks to its Victorian style, swivelling elegant swan neck spout and classic white lever handles.
How to fit a kitchen tap and get rid of the old
Matthew Powell
Matthew Powell created WarmZilla in 2018, having forged a successful career as a heating engineer over many years. WarmZilla is redefining the boiler purchasing and installation process and also specialise in repairs, home cover and all aspects of domestic heating.
1. Turn off water supply
The first step is to make sure that the water supply is switched off to avoid possible flooding. Here Powell explains the process, “Locate the internal stopcock to shut off the cold main water supply. If the stopcock isn’t accessible, turn off the main water supply at the external stopcock on the road.”
To get rid of any water still in the pipes, Powell says, “Open the hot and cold taps at the lowest draw-off point in the property to allow gravity to release any remaining water.” He adds, “Open other taps above the lowest point to drain residual water completely.”
3. Remove tap
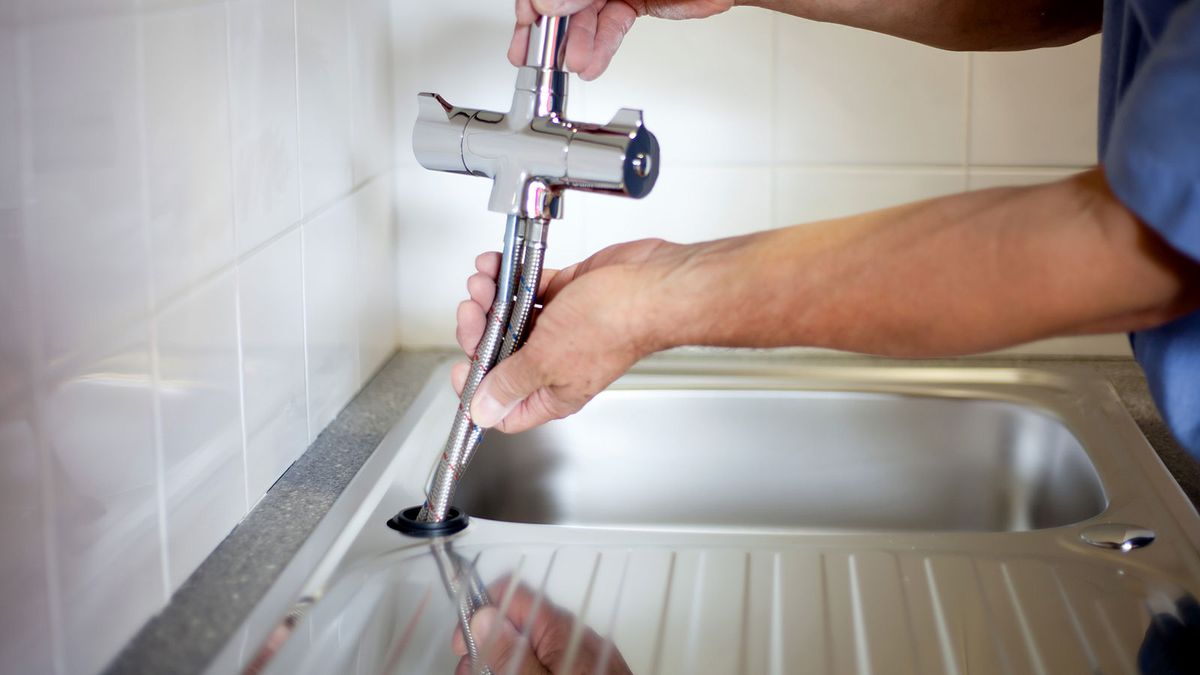
Before you start removing the taps there you need to make sure to be ready for any unexpected water as Powell explains, “Place a large bowl under the sink to catch any excess water.” Now get your wrench or spanner ready and “loosen the taps by unscrewing any retaining nuts and gently wiggling them back and forth if tight.”
4. Install new tap
The first step is make the tap help is dirt and grease free. Powell says, “Clean the sink area thoroughly once the old tap is removed.” If it’s a new sink, give it a quick wipe with a microfiber cloth like this MR.SIGA Microfiber Cleaning Cloth from Amazon. He adds, “Fit the new tap by following the reverse of the removal process.”
Jess Thomas, director of Drainage Central goes into more detail, “If you have a pillar tap, you may need to apply PTFE tape to help with sealing the lower connection threads.” He adds, “Wrap the tape in a clockwise direction.”
For mixer taps the process can be slightly different as Thomas explains, “If you are installing a mixer tap, these often have pre-fitted hoses” If not he adds, “You will need to screw them into the tap base carefully, tightening them by hand.”
Once this has been done Thomas says, “Feed the mains connection ends through the location hole, ensuring that any seals, gaskets and washers are already fitted according to the instructions. When the tap is aligned, install the under-side gaskets, washers and retaining plates and align them correctly.”
Thomas adds, “The retaining nut should be applied by hand until it is tight.” Finally check the alignment and tighten with an appropriate tool. Then connect the hoses to the water supply and tighten. Switch any isolation valves to the on position.
Jess Thomas
Thomas is a well-recognised expert in the drainage and plumbing industry. Jess continually provides valuable insights on a wide range of industry topics, and is dedicated to helping homeowners find effective solutions to their problems.
5. Reconnect water supply
With the new tap fitted Powell says, “Turn the water back on and check for any leaks.” Finally, “Open all taps around the property to release trapped air from the system.”
Powell offers one cautionary tip if you have a combi boiler, “For combi boilers without isolation valves, the cold supply to the boiler must also be turned off, as the hot water relies on cold mains pressure”
Does pipework need an isolation valve?
Isolation valves are simple to install, easy to use and make your DIY life easier as Powell shares, “While not essential for every DIY tap replacement, isolation valves are highly recommended for convenience and easier future maintenance.”
They allow you to just switch off the water supply to a tap rather than turning off the water supply to the entire house. But be warned as Powell points out, “Adding these may involve complexities depending on the pipework, so proceed cautiously if you’re not experienced.”
FAQs
Andy Simms
With almost a decade of experience on the front line in construction as a multi-trader, Andy is uniquely placed in the construction industry to help bridge the gap between tradespeople and product managers with his role at MyBuilder.com.
Can I fit a kitchen tap myself?
This very much depends on the level of your DIY skills and the complexity of the job. If it’s a straightforward like for like tap replacement and you have the appropriate tools to tackle the job then it should be reasonably straight forward.
However, if there is the need for the rerouting and extension of pipework it’s best left to a professional. As Andy Simms, from MyBuilder.com explains it is not always easy, “Installing a tap can be a technical job, with flooding issues a potential hazard if you get it wrong, so it’s always a good idea to hire an expert plumber.” He adds, “It can be a very fiddly job depending on the access you have and it may require specialist tools.”
How much does a pro charge to install a kitchen tap?
If you don’t want to tackle changing a kitchen tap you will need to call in a professional. Simms gives an idea of what you can expect to pay, “The cost of hiring a plumber ranges between £40-£80 per hour depending on location, plus the costs of the taps and the complexity of fitting them.”
He adds, “From simple mixing taps to boiling water taps, each has its own installation requirements. Some homeowners might feel confident with the job themselves, but hiring an expert ensures the taps are fitted correctly and avoids plumbing mistakes which can lead to further costs down the line.”
The minimum you should expect to pay is around £80 for labour. Get quotes from two or three professionals to help get a better idea of the cost for your particular installation job.
What way around are hot and cold taps traditionally placed?
Whether you are installing a mixer tap, or pillar taps you will need to install the hot and cold water supply correctly. Simms reveals what the traditional option is and why it is done this way. “The placement of hot and cold taps follows a long-standing tradition.”
He adds, “In the UK, hot water is typically on the left and cold water on the right, a convention rooted in Victorian-era laws designed to prevent confusion, particularly for elderly or disabled individuals, while also considering that most people are right-handed.”


Leave a Reply